
Recording good audio – 5 tips
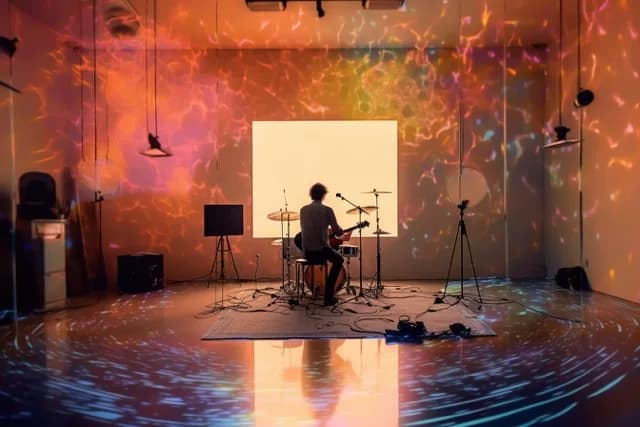
As a musician, your talent shines not only through the melody but also the quality of your sound. Recording good audio means less noise, and less distortion). This will enable your audience to enjoy your music and help other musicians to take you seriously. In this post, I’ll share some practical tips on recording good audio that will help you achieve professional level without breaking the bank. These tips range from using an external audio interface and selecting the right room to monitoring audio levels and using a dedicated microphone. So, let’s dive in and make your music videos sound as impressive as they look. Recording good audio starts with the Audio levels Before hitting the record button, ensure your audio levels are just right. They shouldn’t be too loud, causing distortion, or too soft, making your sound hard to hear. Most recording apps, including Djaminn, provide a visual audio level meter you can use to check your audio levels. Need help with this? Check our support centre at support.djaminn.com. More insights on perfecting your music videos are provided in our series – guides for making great songs on social platforms like Djaminn, TikTok and Instagram.
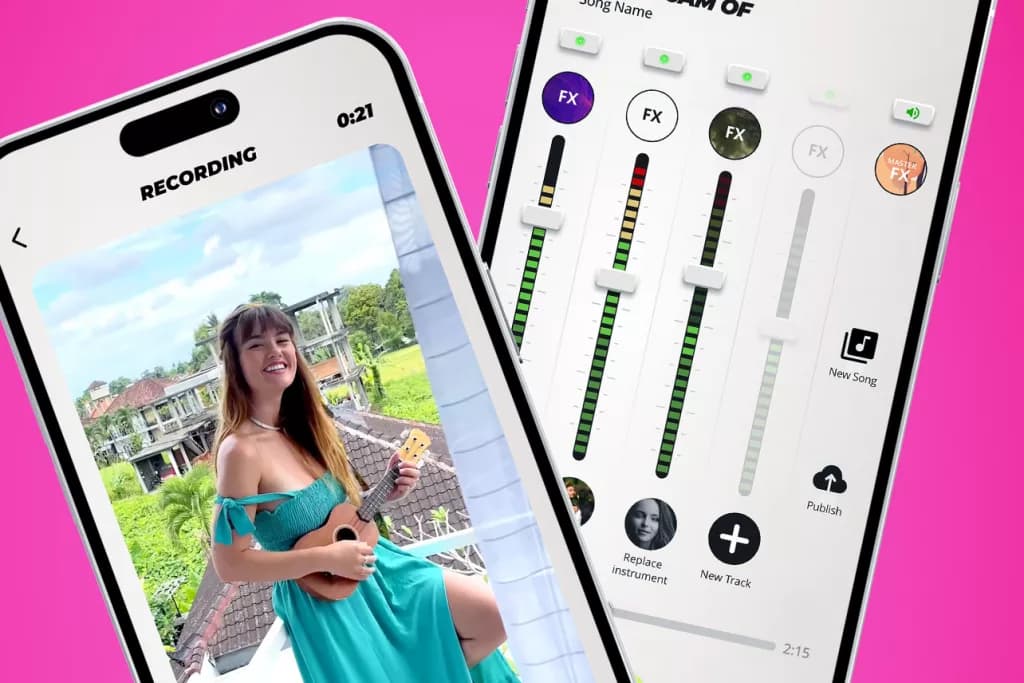
Recording good audio from monitoring your levels Select the Right Room for recording good audio for music videos Choosing the right room for recording audio for music videos is paramount. Opt for a quiet room with good acoustics. Ideal rooms have soft surfaces, like carpets and curtains. These absorb sound and prevent it from bouncing around, thereby causing echo or reverb. Hard surfaces, like tiles or wood, can cause sound reflections, leading to a hollow or distant sound in your recording. We cover this and more in our support centre at support.djaminn.com.

Microphone placement when recording good audio Microphone placement when recording good audio It is important to place the microphone close to you when playing. This will help to capture the sound more accurately and with less background noise. However, it is important not to place the microphone too close to your instrument, as this can cause distortion. Distortion occurs when the microphone is overloaded with sound. This can cause the sound to become harsh and unpleasant to listen to. To avoid distortion, it is important to experiment with different microphone placements until you find a distance that works well for your recording. As a general rule of thumb, you should place the microphone about 6-12 inches away from the source of the sound. However, this distance may vary depending on the type of microphone and the sound you are trying to capture. For example, you may need to place a microphone closer to you if you are singing. If you are unsure how close to place the microphone, it is always better to err on the side of caution and place it further away. This will help to avoid distortion and ensure that your recording sounds its best.
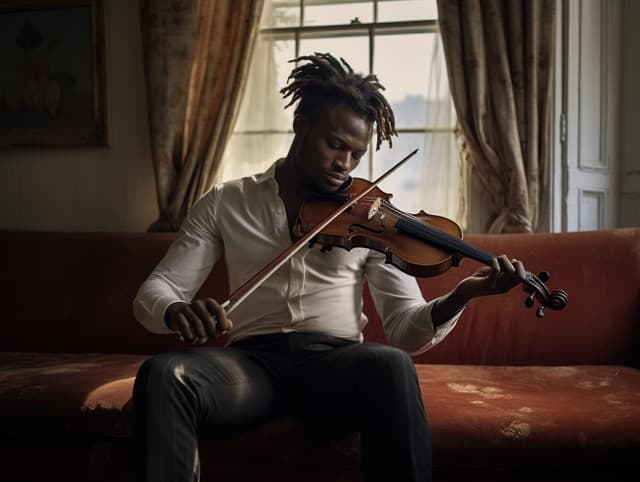
Use a Dedicated Microphone Recording good audio on your songs will be significantly easier when using a standalone microphone instead of the one built into your phone or headset. This is because standalone microphones are designed to capture sound more accurately and with less background noise. They have better components and are designed to be used in a professional setting. When recording vocals or acoustic instruments, it is important to use a microphone that is designed for that purpose. For vocals, a condenser microphone is a good choice. Condenser microphones are sensitive and can capture a wide range of frequencies, which is ideal for capturing the human voice. For acoustic instruments, a dynamic microphone is a good choice. Dynamic microphones are less sensitive than condenser microphones, which makes them less susceptible to feedback and noise.. Check out how other musicians are sounding, by downloading the Djaminn app here. Djaminn and IK-Media Gear Djaminn supports the use of IK-media gear, allowing you to use professional connections like Jack plugs and XLR plugs. This gear can provide you with more control and better sound quality during your recording sessions. To get started, download the Djaminn app here. By implementing these tips, you will be well on your way to recording audio for music videos that not only looks good but sounds fantastic. However, creating engaging music videos also involves composing an engaging environment. Be sure to check out the all the guides in this series where I’ll delve into how to improve your music video game. And don’t miss the other helpful posts in this series: “5 Tips for Great Lighting in Music Videos for Social Media” and “5 Tips for Great Performance in Music Videos for Social Media”. By integrating these tips with your innate creativity, you’ll be creating mesmerising music videos with exceptional audio quality in no time.
Common Audio Recording Mistakes That Ruin Music Videos
Even a high-quality microphone cannot fix poor recording equipment. Minor errors committed beforehand or during filming may distort the audio, create background noise, cause uneven volume, or add echo, making your music video seem amateurish. Typical errors in recording audio can include: • Recording with input level too high and causing clipping • Recording while standing too far from the microphone • Recording while being close to fans, open windows, air conditioning systems, or any other noise source • Recording in an empty room with hard reflective walls • Disturbing, moving, or adjusting the microphone during a performance • Recording where the microphone picks up the sound of one instrument much louder than all the rest • Depending solely on the visual audio meter and ignoring the test recording • Recording the whole performance without balancing vocals and instruments To avoid mistakes while filming the whole music video, you need to make a test recording and listen to it via headphones.
Built-In Phone Microphone vs External Microphone
Though modern mobile phones can record good audio, they are optimized for daily use, not for music recording. An external microphone will give you better control of the sounds that you record, which means that you will be able to make better-quality recordings. Below are the main differences between the two devices.
An external microphone isn't always needed, but if you make music videos often or need better audio quality, it's definitely worth considering. Even a cheap external microphone will be better compared to a phone microphone.
A Simple Audio Checklist Before You Press Record
Many of the problems encountered during recording can be easily solved with just a few minutes of preparation. Going through a simple checklist will help you avoid problems that may affect your performance and the need to make multiple attempts. Here is what you should do before you press the 'rec' button: • Check whether your input audio levels are not clipping • Find the quietest room and minimize the background noise level • Put the microphone at the right distance from your voice or instrument • Secure the microphone or phone to avoid unnecessary movement • Make a brief recording test and listen to it via headphones • Balance the vocals and instruments if needed • Disable any sound notifications or other noises that might interfere with recording • Ensure the proper functioning of all the recording equipment Following these steps before starting a recording will help you achieve consistent results when filming the music video. They do not take much time to perform but greatly increase the overall quality of your work.
Which Audio Setup Is Best for Your Recording Goals?
Depending on the kind of content that you make, your experience, and your budget, you can decide what the best recording setup for you is. Although professional recording equipment can help improve sound quality, some musicians can record good-quality content without the best equipment because they know how to choose the right setup. Below are several examples of recording setups: • Beginner practice video – Smartphone, built-in microphone, and a silent room with minimal background noise. • Regular social media content – Smartphone and external microphone. • Solo vocalists and acoustic performers – Condenser microphone together with an audio interface. • Groups and collaborations – Several microphones together with an audio interface. • Professional videos – Microphones, audio interface, headphones, acoustic treatment of the recording room. There is no one setup that can be used by all musicians. It is much better to start with equipment that will suit your needs at this point in time and upgrade it as your recording experience increases.
Frequently Asked Questions About Recording Good Audio
Is it possible to improve poor audio after recording? The basic functions of any editor will help you eliminate noise, adjust volume, and make the sound clearer. Nevertheless, heavily distorted and clipped sound is hard to fix, and clean sound captured at once always provides the best quality. How often should you check your recording system? It is recommended to record a test before each recording session if you have changed the location, equipment, or microphone settings. It will help you detect any problems much more easily than after recording the whole performance in Djaminn or any other recording application. Can headphones make a difference when recording video music? Yes. Using headphones when testing the recording will help you pick up on any distortions or noise that cannot easily be noticed using your phone or camera speaker. Are indoor recordings always superior to outdoor ones? It depends. Outdoor recordings may sound superb in places with no disturbing noises like wind or traffic. The ideal recording environment has minimal noise and reverberation. How can consistency be achieved in the recordings? Using a fixed recording environment, mic placement, equipment, and settings will ensure consistency across different music videos. What’s the benefit of making a short test recording? Making a short test recording helps you make sure everything sounds fine and that there are no unforeseen issues before you start filming. This saves you from having to redo the whole performance, helping you create better music videos using Djaminn.